The E-Sign API & Developer Hub
Integrate E-Sign's API eSignature software for a seamless digital experience for both you and your customers. Contact us today to request sandbox access.
Trusted By
Integrate eSignature Workflows into your Ecosystem
Create, manage and request electronic signatures.
Enhance Agreement Automation with eSign
Integrate our secure API into your software, streamline your digital document processes and boost automation for agreements.
Customised to fit your business needs, our API is perfect for driving growth and enhancing efficiency.
- Easily integrate E-Sign into your existing systems
- Keep your data protected with top-tier security
- Stay up-to-date with your Developer account
Greater flexibility, convenience and control.
Leverage the E-Sign Developer Hub
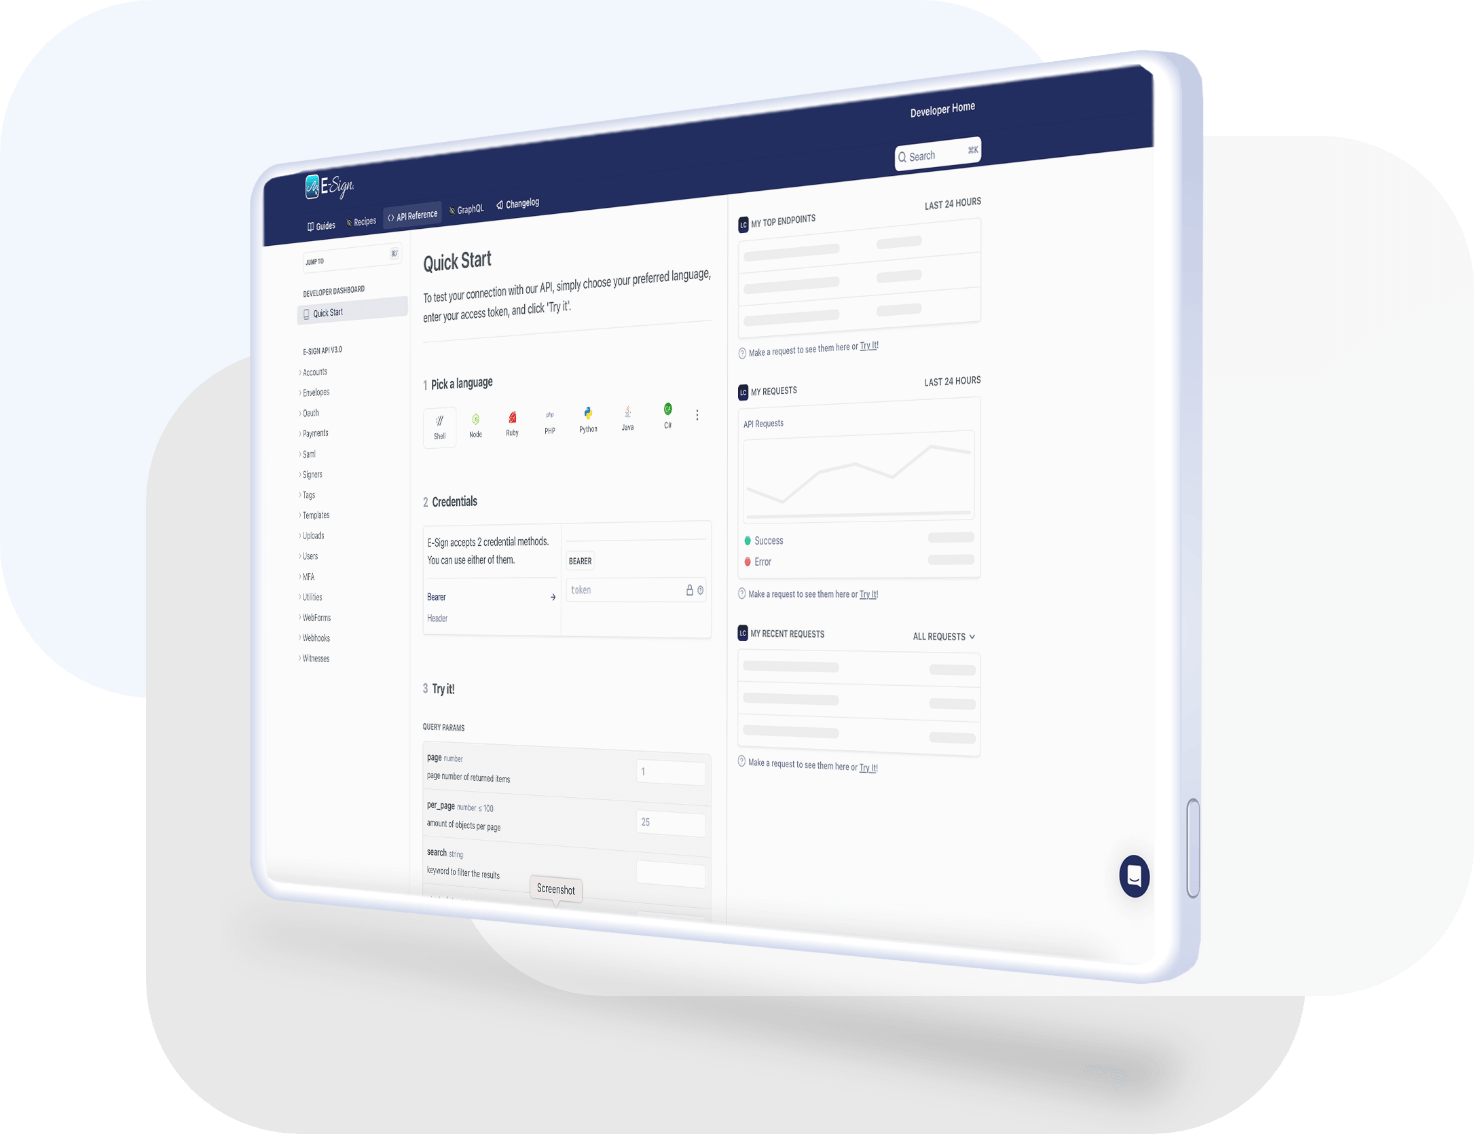
Our Developer Hub offers useful guides to help build your integration, as well as code samples that demonstrate how to manage common scenarios.
Packed with impressive features and a built in play-ground for testing, you have complete control and flexibility of your integration.
- Create custom workflows seamlessly
- Interactive, user-friendly and comprehensive API guides
- Effortlessly generate API tokens
- Account-wide dashboard and advanced data
- Flexible and scalable customisation to meet your unique needs

Compliant with all major eSignature laws.
Secure API with Simplified Management
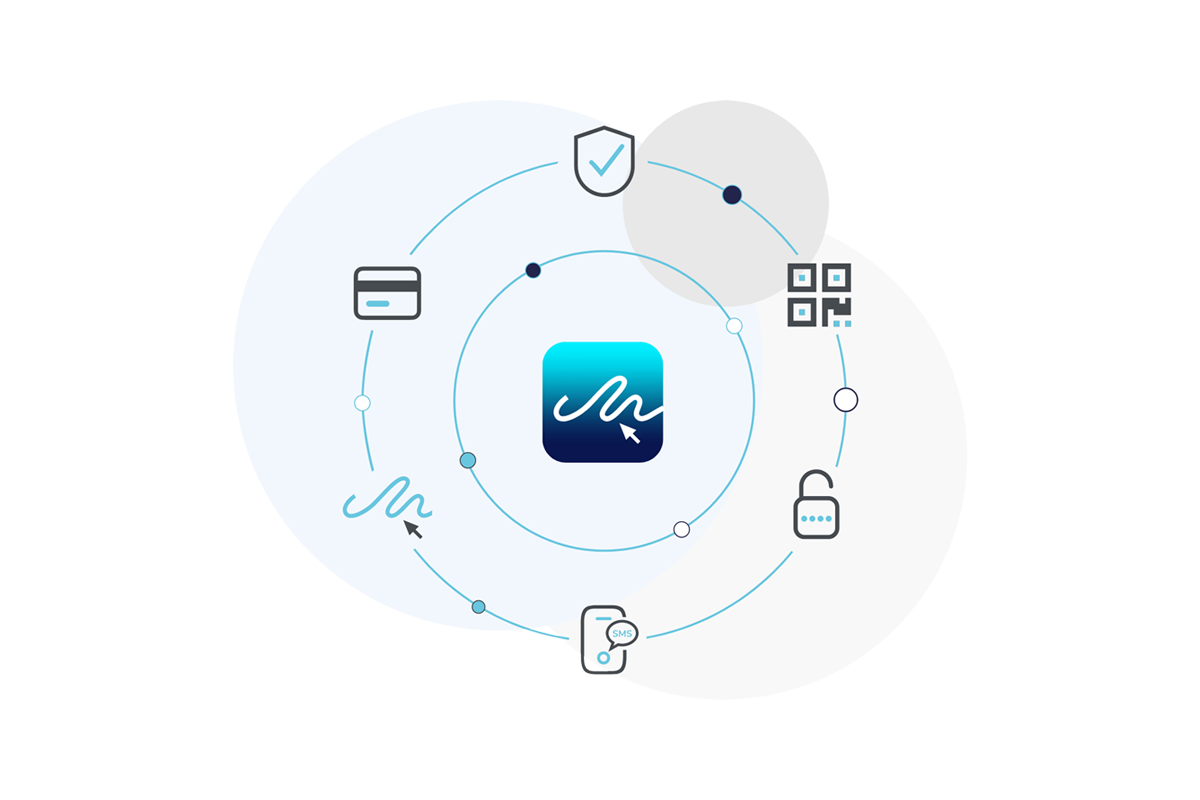
When you choose an API service from eSign, you can be sure that your API is secure and compliant.
Our eSign platform and electronic signatures are compliant with all major eSignature laws and operate an encrypted client library for end-to-end encryption to protect the contents of your documents and your sensitive data.
Easy to use eSign.
API Documentation
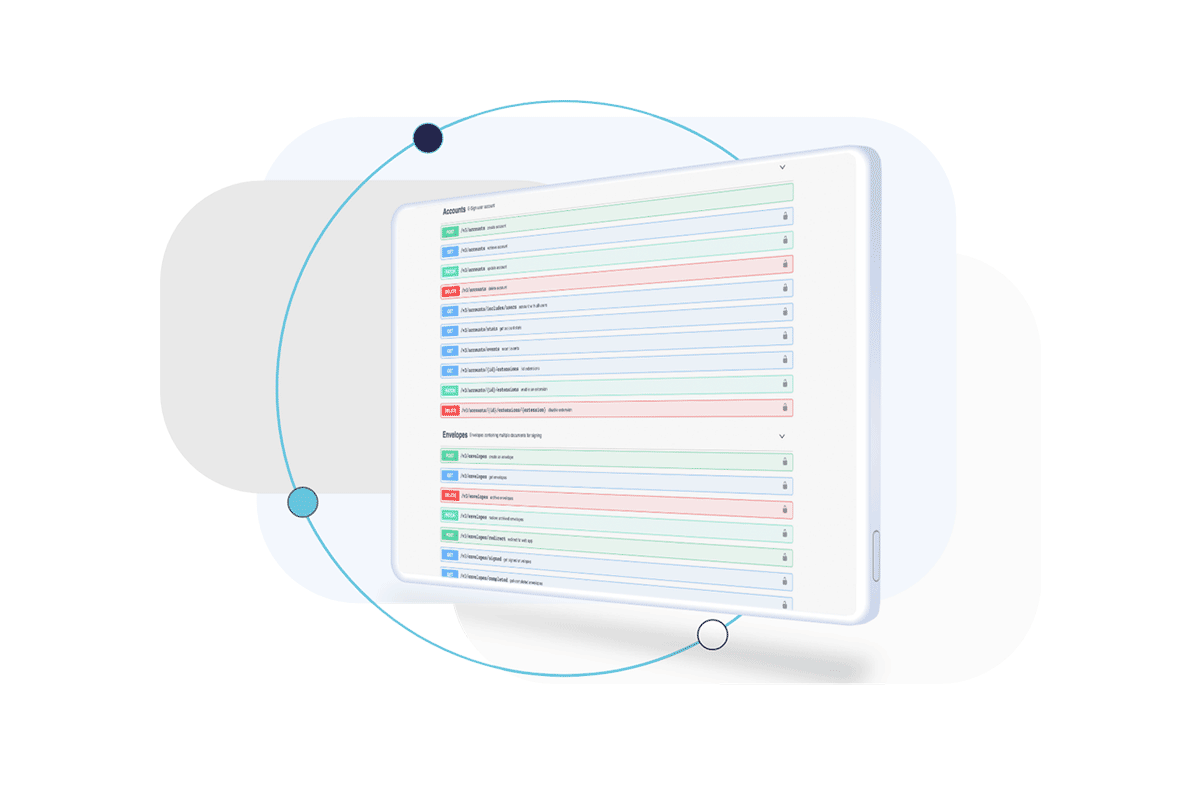
We want to make using the API as easy as possible, to help you integrate we’ve created the developer hub for eSign customers.
Here you can find all the essential links to documentation and reference code as well as our latest SDK’s and Tools.
Integrate with Leading Tools
Create bespoke workflows to suit your business with a range of application integrations.


Business Benefits of API

Greater Automation
By using an API, you have the ability to integrate greater automation into your processes for a smoother, more efficient digital experience.

Integrated Applications
With an API, you can effortlessly integrate numerous applications into one, simplified software.

Smooth Customer Experience
By integrating your applications, you can equip your customers with a user-friendly and joined up website experience.

Eliminate Barriers to Your Business
Remove any barriers between your customers and business with an integrated API and encourage greater traffic through flexible and convenient functionality.

Secure API
With the eSign platform, you can be sure all your data and communications are secure and compliant.

Build on Existing Systems
Using eSign’s API, you can create an integrated process on existing or new applications to innovate your current processes.
Featured Industries
Discover eSignature solutions and use cases in your industry.
Healthcare
eSign offers complete digital document solutions for healthcare organisations, streamlining processes, efficient transactions, and cost-effective services.
Learn More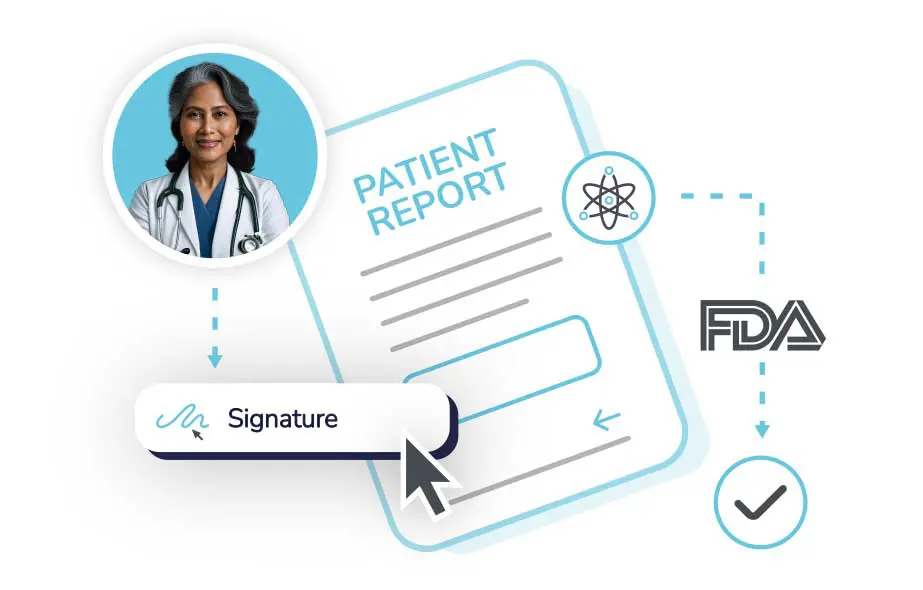
Accountancy & Tax
Digital solutions for accountancy and tax, e-signatures for HMRC documents, book keeping and integrations into leading softwares.
Learn More
Legal
Streamline document turnaround and completion, increase compliance and elevate contract reviews with a digital document management solution.
Learn More
Education
eSign offers digital solutions for educational organisations, from student enrolment, financial aid documents, HR documents and more.
Learn More
Finance
Digitise key financial agreements and workflows, do business faster and eliminate slow manual processes with an electronic signature.
Learn More
Discover more industries
eSign provides digital solutions for organisations and individuals across all industries.
Learn More
Feature Examples
Signature workflow via Iframe
Use eSigns iframe functionality to generate envelopes from within your own system.

CHOOSE YOUR TEMPLATE TO SUIT YOUR BUSINESS NEEDS
Templates
eSign templates simplify document signing for your business, saving time and resources. Easily integrate electronic signatures into your workflow, whether it’s contracts, agreements, or other legal documents.





eSign Case Studies

National Clinical Homecare Association
The healthcare industry clearly recognised the need to adopt a digital approach to prescription processing, giving operational advantages, regulatory compliance and improvements to patient safety.

Mid Devon District Council
There has been significant time and cost savings on the sign-up process for new tenants as there is no longer a requirement for officers or tenants to travel to meet in a location to sign the agreement.

University Hospitals Leicester
The E-Sign implementation has achieved demonstrable improvements in service efficiency, supported cross-site working and reduced costs for the UHL Kidney Pharmacy home delivery services.
Frequently Asked Questions
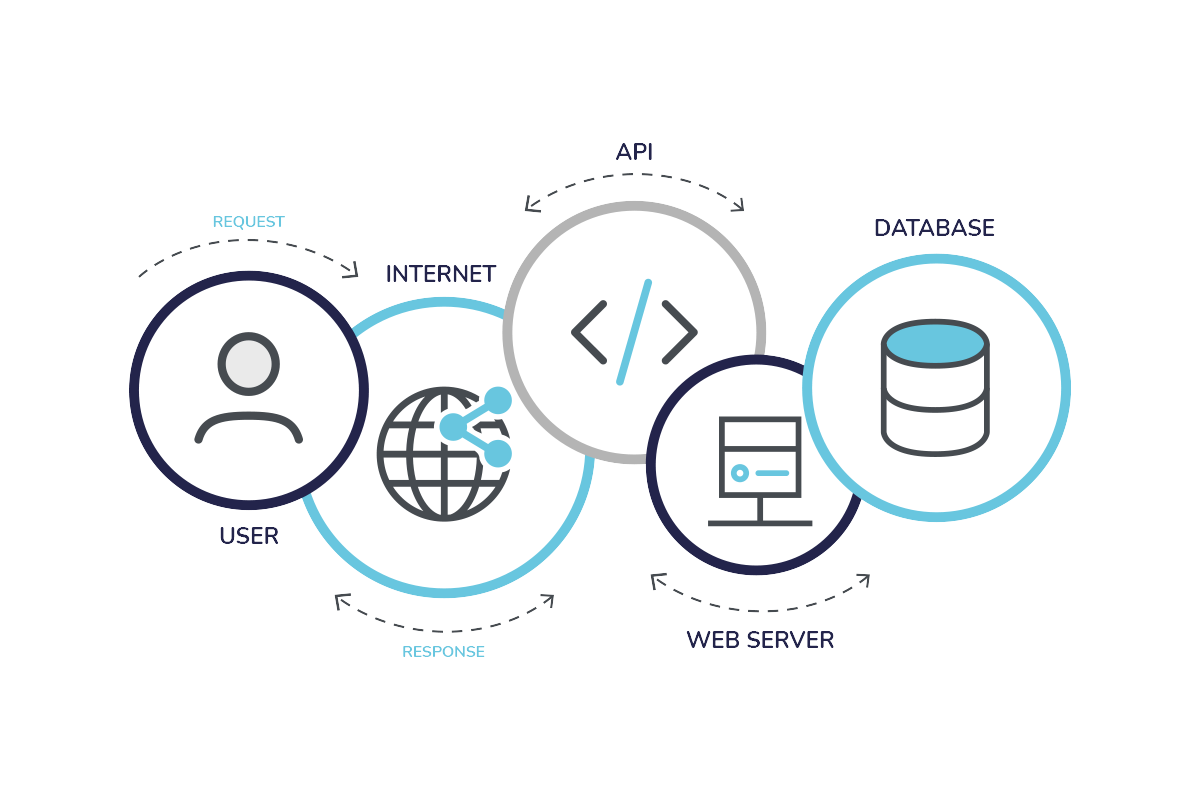
An Application Programming Interface, or API, is a software intermediary that allows multiple applications to communicate with each other. An API connects your business processes, services, content, and data to channel partners, internal teams, and independent developers in an easy and secure way.
An API provides customers with an assortment of well-integrated features, providing greater flexibility and convenience that’s ideal when using digital signatures alongside other applications.
The E-Sign API enables developers to seamlessly incorporate E-Sign’s electronic signature features into their own applications. By utilising this API, developers gain the ability to effortlessly create, send, and oversee documents that necessitate electronic signatures. Furthermore, the API facilitates the tracking of document signing progress and provides the means to manage account settings and users.
The E-Sign API offers a fantastic solution for streamlining the management of signed agreements. Developers can effortlessly integrate their systems with the E-Sign API, which provides a dependable and user-friendly method to upload documents, initiate signing requests, send reminders, and gather e-signatures.
Here you will find some of the key definitions of words used throughout our API.
Document
Documents are the files uploaded to E-Sign that form part of an envelope. Once a file has been uploaded it can be used to create templates, be sent as part of an envelope, or be added as an attachment to an envelope.
Envelope
Envelopes are structures that contain data required for a successful E-Signature transaction. Each envelope contains one or more documents, signers, and meta data such as the envelope author and transaction information. Envelopes have unique IDs that can be referenced to interact with the envelope.
Signer
Signers refer to the primary recipients of envelopes. They are specified during the creation of an envelope, and they are directed to view, agree, and sign envelopes. Each envelope must have one or more signers.
Template
Templates are reusable blueprints that can be used to quickly send out envelopes using common information. Frequently used documents or signer groups can be set up easily.
Webhook
Webhooks are automated messages sent from apps when something happens. They have a message—or payload—and are sent to a unique URL. Webhooks are almost always faster than polling and require less work on your end.
OAuth
Use OAuth to securely get access to your users’ data without them sharing their E-Sign password.
OAuth, or open authorisation, is a widely adopted authorisation framework that allows you to consent to an application interacting with another on your behalf without having to reveal your password. It does this by providing access tokens to third-party services without exposing user credentials.
To use our API, you will require an api key, separate keys may be required to access the sandbox environment. API keys do not expire unless you revoke them. Requests are authenticated using the ‘Authorisation: Token API_KEY’ header.
Example:
curl -X GET “https://sandbox.e-sign.co.uk/v3/accounts” -H “accept: application/json” -H “Authorisation: Token API_KEY”
E-Sign uses conventional HTTP response codes to indicate the success or failure of an API request. In general: Codes in the 2xx range indicate success. Codes in the 4xx range indicate an error that failed given the information provided (e.g., a required parameter was omitted, a charge failed, etc.). Codes in the 5xx range indicate an error with E-Sign’s servers (these are rare).
| Code | Explanation |
|---|---|
| 200 – OK | Everything worked as expected. |
| 201 – Created | The request succeeded, and a new resource was created as a result. |
| 204 – No Content | The server has successfully fulfilled the request and that there is no additional content to send in the response payload body. |
| 400 – Bad Access | The request was unacceptable, often due to missing a required parameter. |
| 401 – Unauthorised | No valid API key provided. |
| 402 – Request Failed | The parameters were valid but the request failed. |
| 403 – Forbidden | The API key doesn’t have permissions to perform the request. |
| 404 – Not Found | The server can not find the requested resource – the endpoint is valid but the resource itself does not exist. |
| 409 – Conflict | The request conflicts with another request (perhaps due to using the same idempotent key). |
| 410 – Gone | This response is sent when the requested content has been permanently deleted from the server, with no forwarding address. |
| 422 – Unprocessable Entity | The request was well-formed but was unable to be followed due to semantic errors. |
| 429 – Too Many Requests | Too many requests hit the API too quickly. We recommend an exponential backoff of your requests. |
| 500, 502, 503, 504 – Server Errors | Something went wrong on E-Sign’s end. These responses are very uncommon. |
Our API lets you customise and extend the functionality of your apps to meet your unique business needs. Create efficiencies with our API, guided by our comprehensive developer documentation guides and code samples.
To access our API, the first step is to request an API token. Once you have the access token, you can test access to our API through our API Reference. The API Reference makes interacting with our API easy and intuitive.
Learn more about getting started with our API in our guide.
To upload a document through E-Sign’s API you will need:
- The document title – E.g New Contract
- BASE64 encoded document
- Extension – Options: pdf, doc, docx, rtf, txt, ppt, png, jpg
- File type – Options: document, attachment, logo, email_signature, avatar, seal
You will need to make a POST request to the endpoint https://${ENV}.e-sign.co.uk/v3/uploads, providing the parameters mentioned above.
Visit the full guide for uploading a document.
To create an envelope in its simplest form, certain minimum parameters must be included in the body of the request. These include providing a title for your envelope, specifying the title and ID of the document to be added, and the name and email of the signer.
It is important to note that you need to upload the document to our system before adding it to the envelope. See the ‘How to Upload a File’ guide in our Developer Hub if you’re unsure how to do this.
Visit the full guide to see how to generate your envelope.
To sign a document within an envelope, you will need the following information: the ID of the signer (signer_id) and the ID of the document (document_id) that is to be signed.
To sign a document, make a POST request to the following endpoint, including the signer_id and document_id:
POST https://${ENV}.e-sign.co.uk/v3/signers/${SIGNER_ID}/documents/${DOCUMENT_ID}
Replace ${SIGNER_ID} and ${DOCUMENT_ID} with the appropriate IDs of the signer and document, respectively.
Visit the full guide to learn how to sign a document.
The “Adding Fields to a Document Using an Iframe” feature allows you to embed an iframe within your application, giving you access to our web application. This enables you to add fields to your document and send your envelope without developing a custom interface.
Visit the full guide to learn more about adding fields to your document.
Did you know that you can track and receive updates on the status of an envelope once it has been created, completed, signed, or declined? By setting up webhooks, you can monitor these events in real time.
Our webhooks guide will take you through the process of creating, viewing, and deleting webhooks using E-Sign’s API.
The “One Click Send and Sign” feature allows users to view a document, enter their information, click a single button to sign, and complete the process—all in just one click.
Visit our full Click to Sign guide in the Developer Hub.
OAuth2 is a robust and flexible authorisation framework that allows users to grant third-party applications limited access to their resources on the E-Sign platform without exposing their credentials.
By using the authorisation code grant flow, OAuth2 enables secure, delegated access where users can authorise an application to act on their behalf, ensuring that the application only accesses what is necessary and within the permissions granted.
Learn everything you need to know about using OAuth, including creating an OAuth app and requesting user authorisation, in our guide.

